Welcome to Univer.se. We're happy to have you onboard!
In this guide, we'll show you how to get your site off of the ground and onto the internet within minutes! To get started, you'll need an iPhone, iPad, iPod, or Mac device to download the app from the App Store. If you don't have any compatible devices, you can always create your site using Univer.se for the Web, but you'll be unable to edit it without the app installed.
Once you have the app installed on your device, you can begin creating!
Choosing a domain
When you first open the app, you'll be instructed to choose a username or subdomain. This is where your site will live on the internet! Don't worry, you can always change this or get a custom domain later!
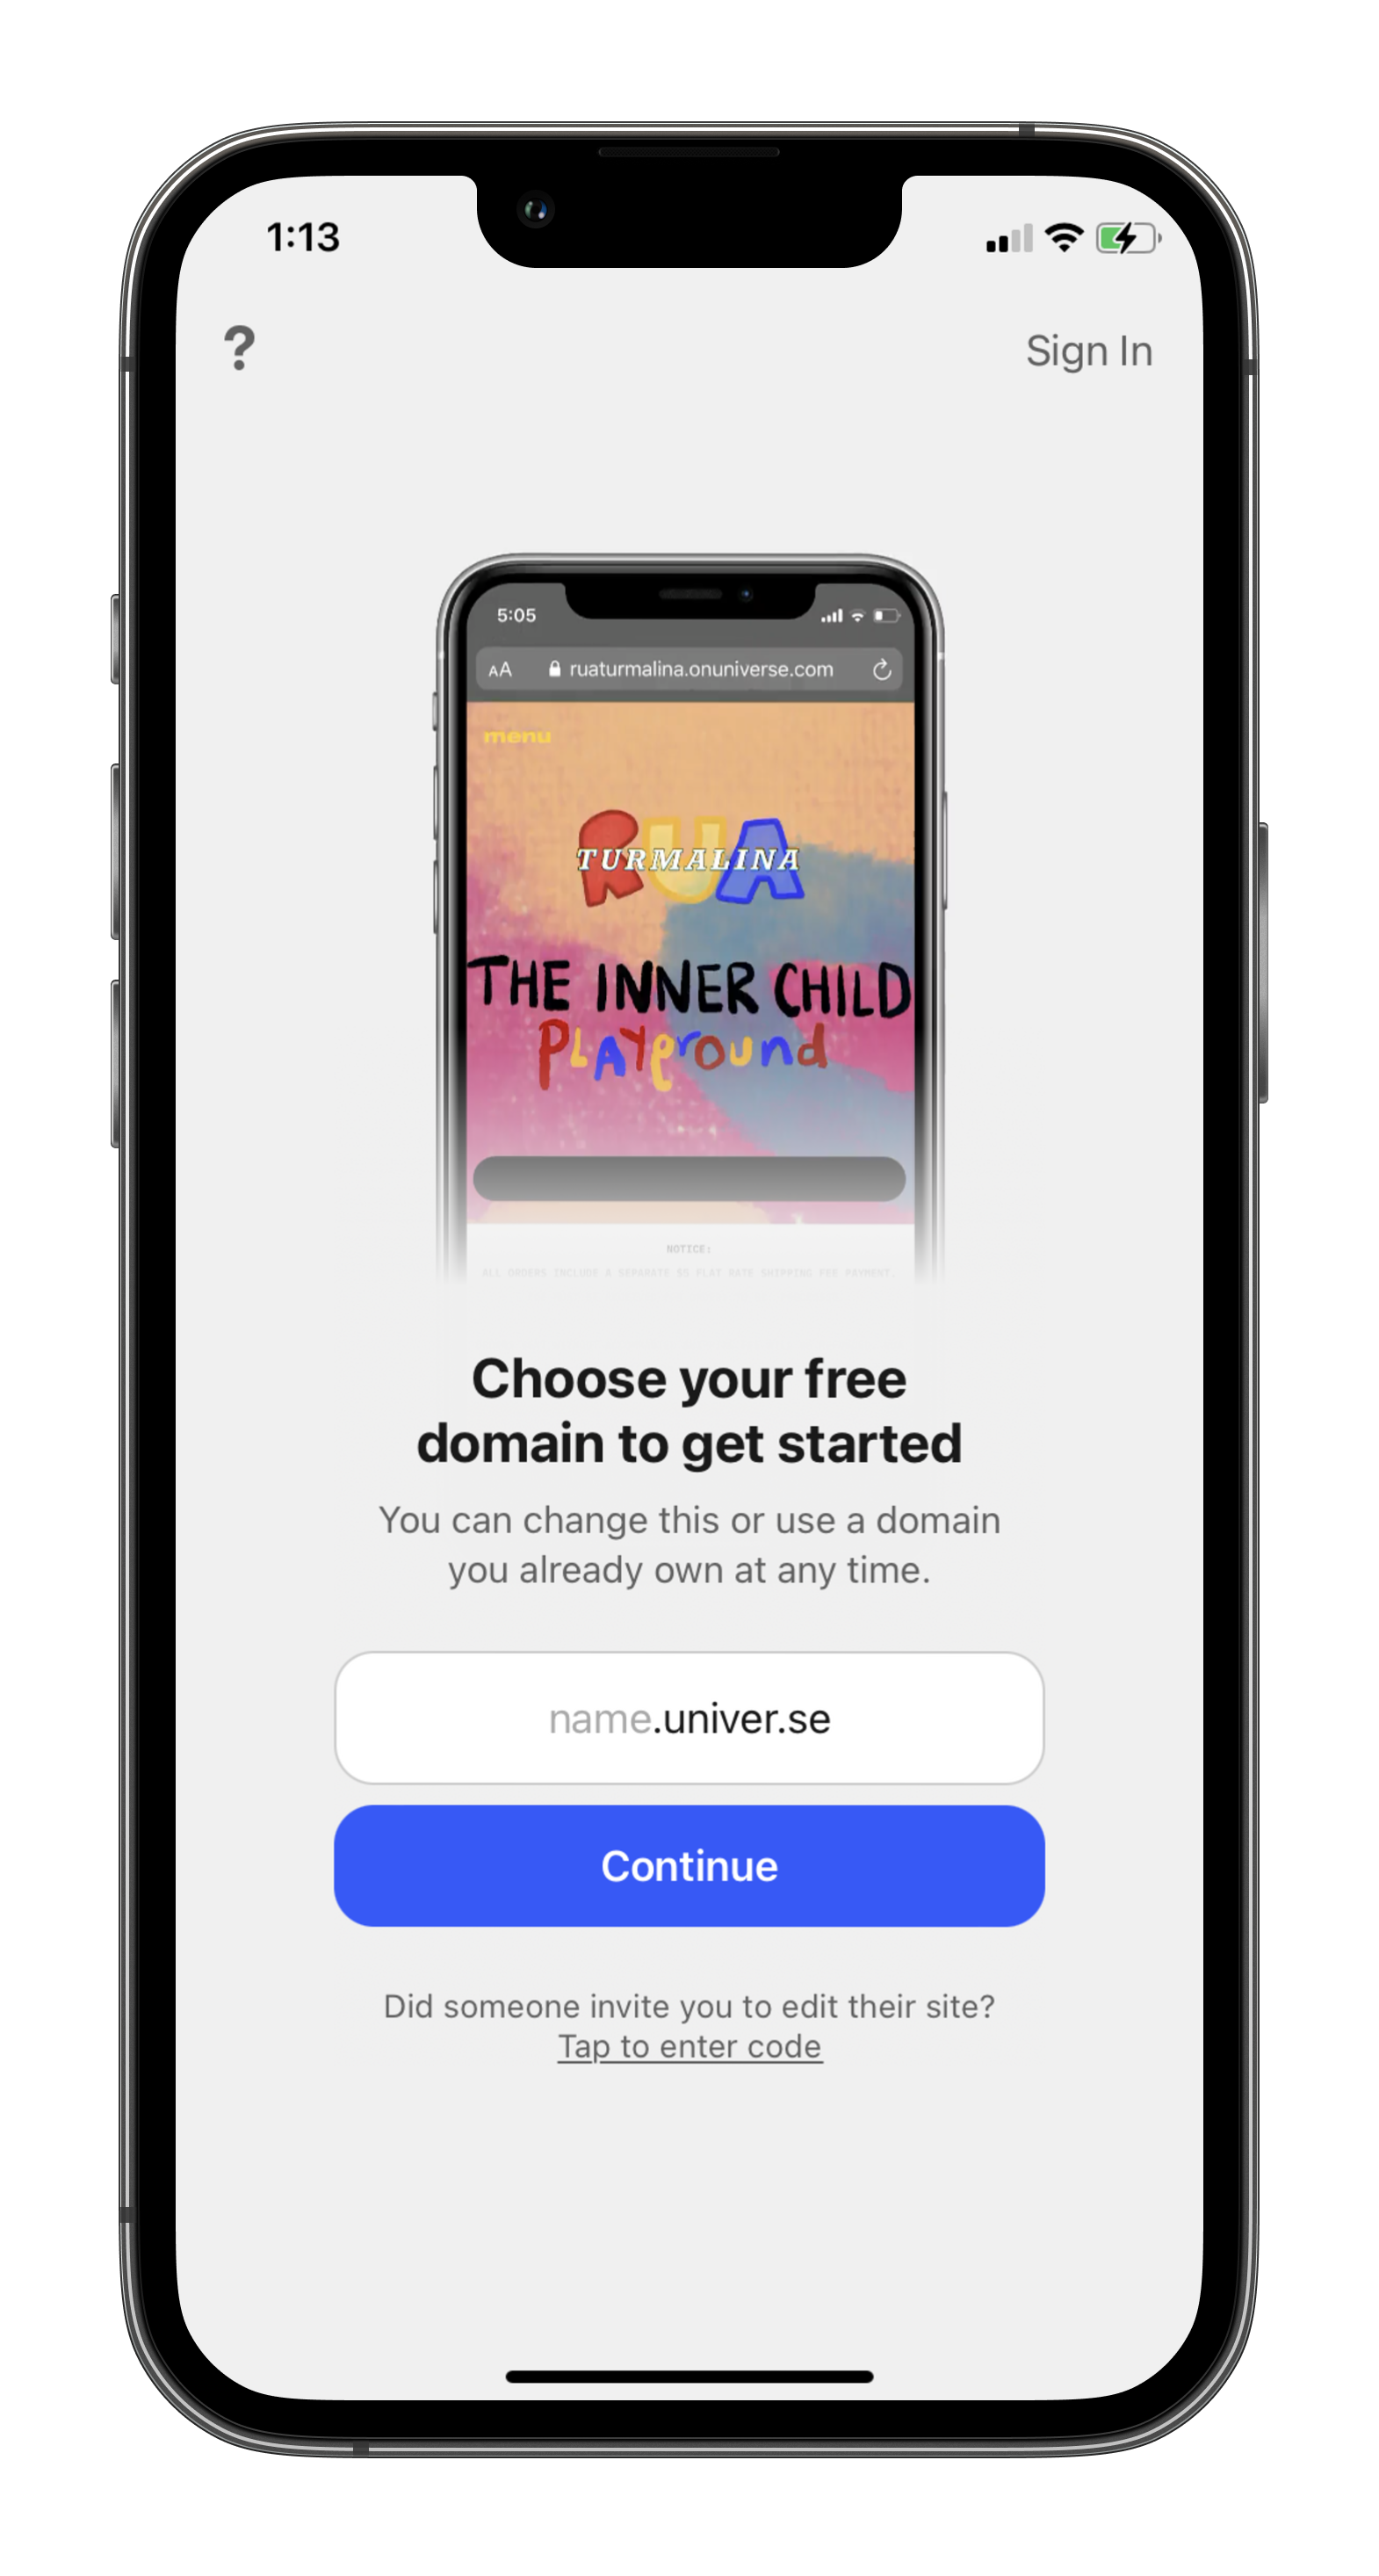

Once your domain is all set and the app has verified it's available, tap the Continue button! A drawer will now appear prompting you to create a Universe account. You can use Sign in with Apple or email/password to hold all of your sites!
Creating an account
If you choose to create an account with an email/password rather than Sign in with Apple, you'll need to choose a strong password that meets the system requirements. A password should contain a capital letter, lowercase letter, number, and symbol. Your password must be at least eight characters in length.
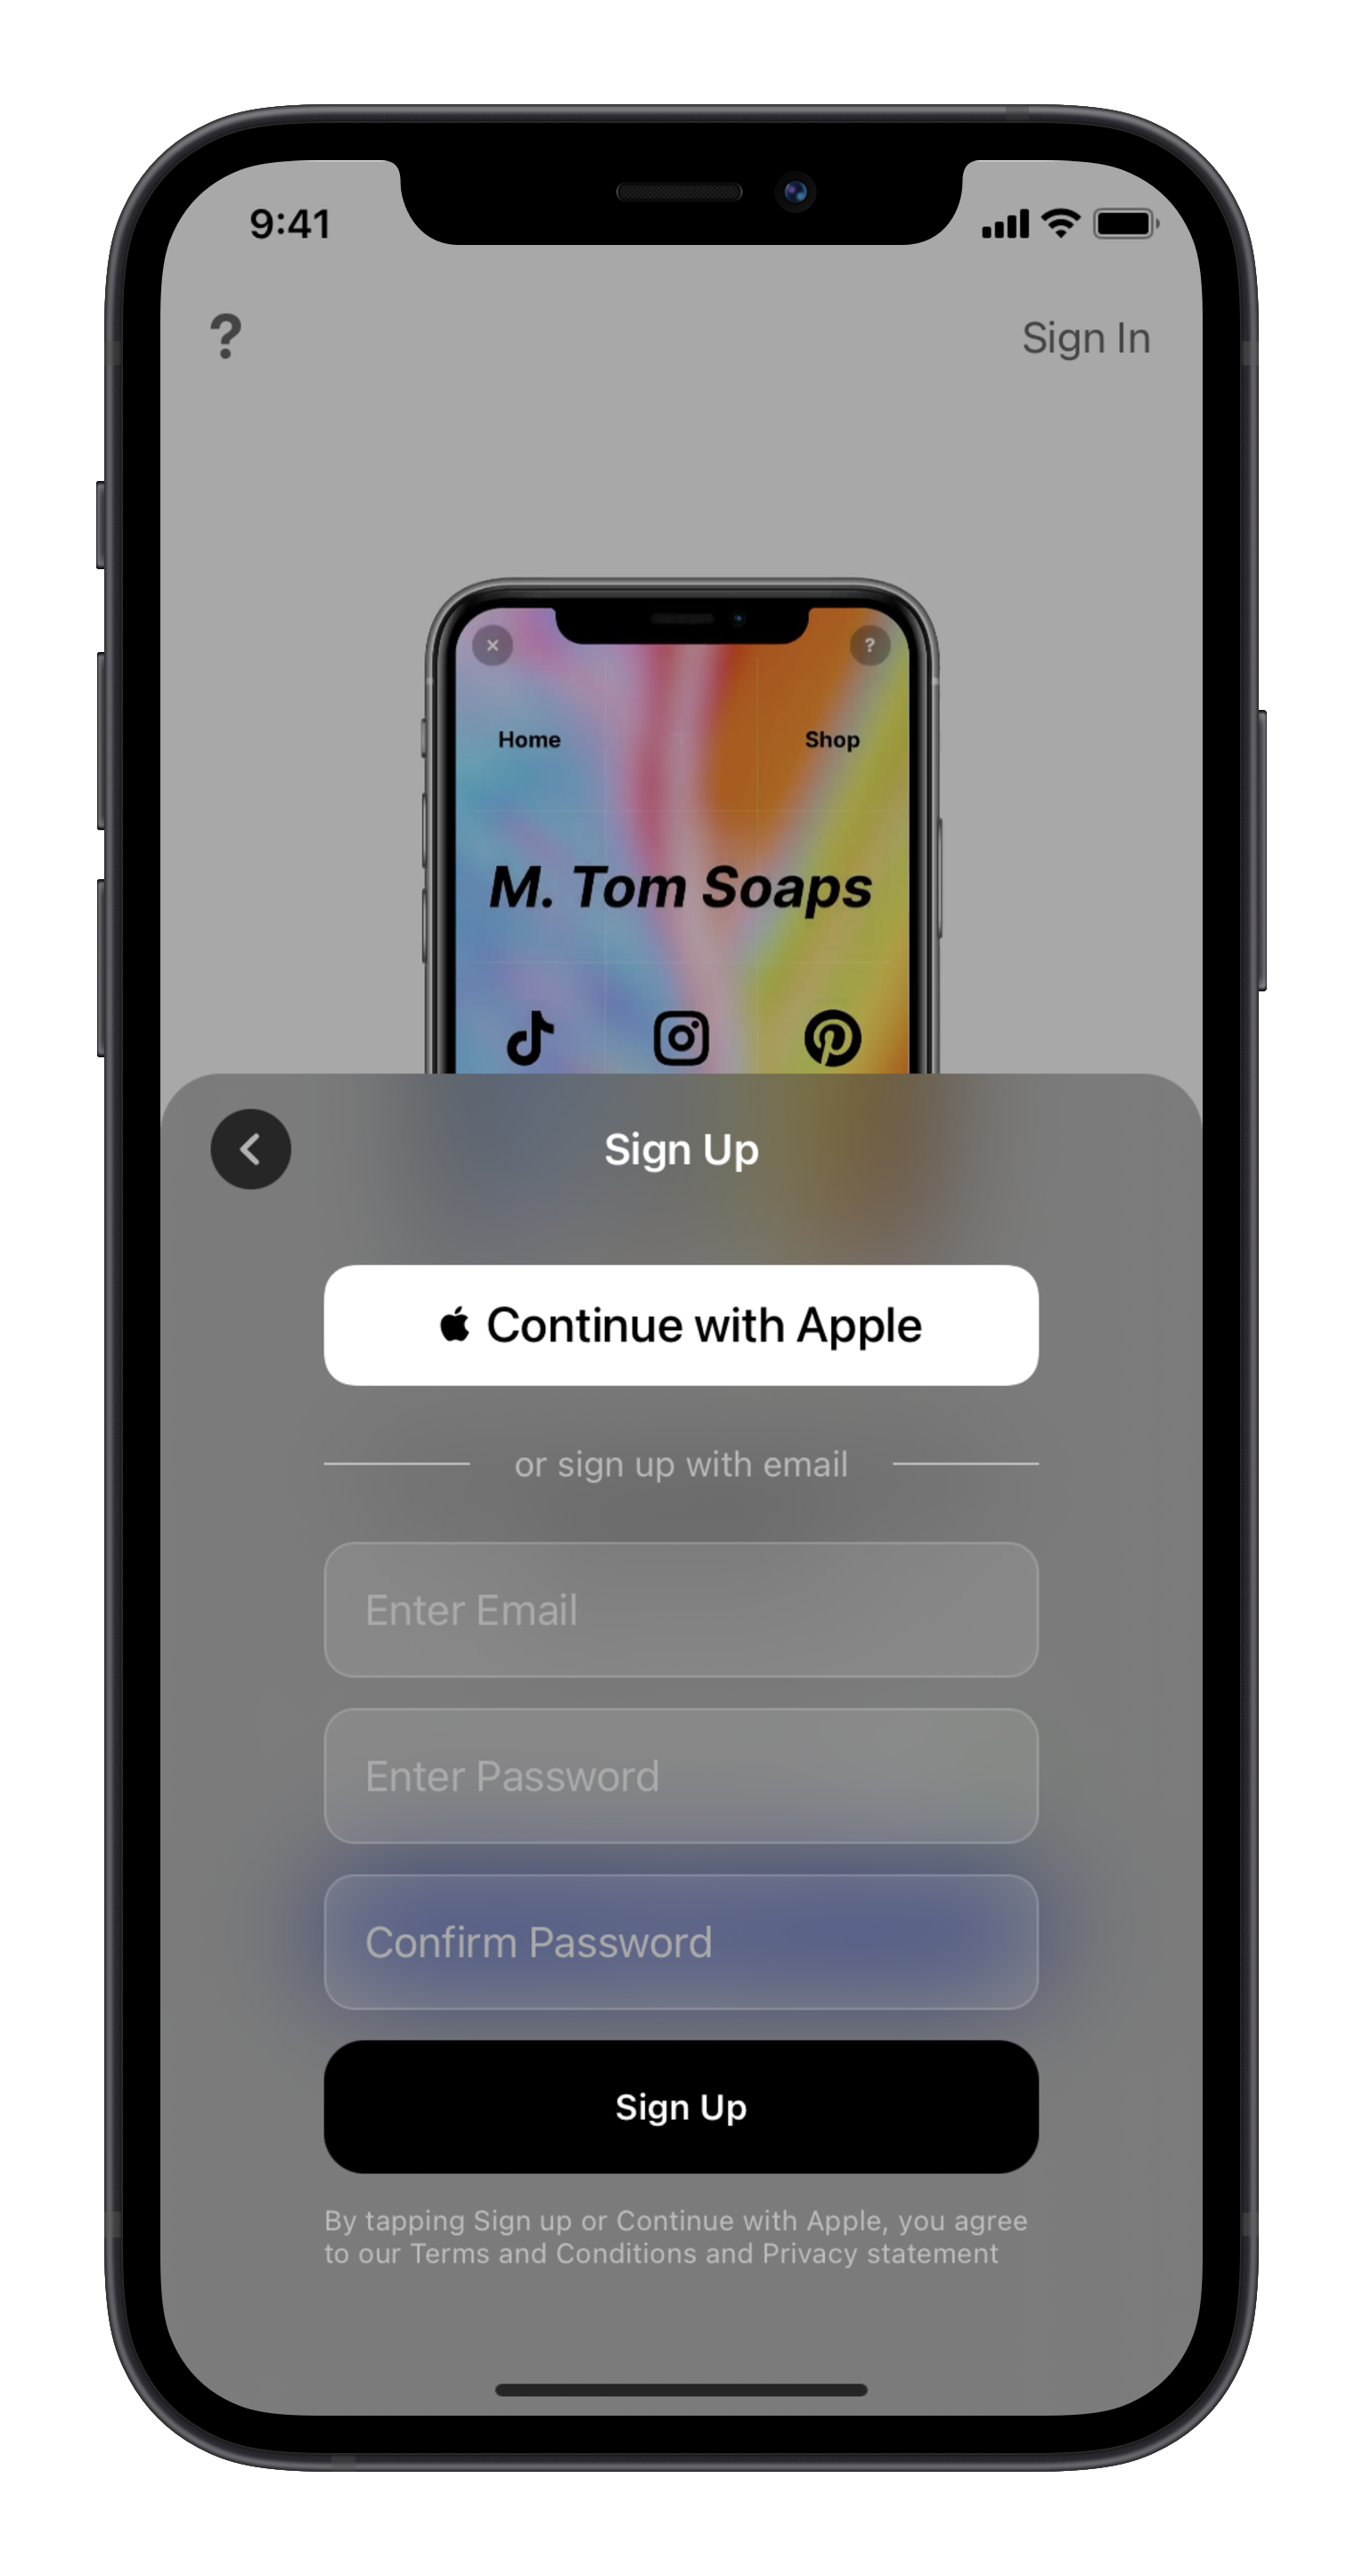
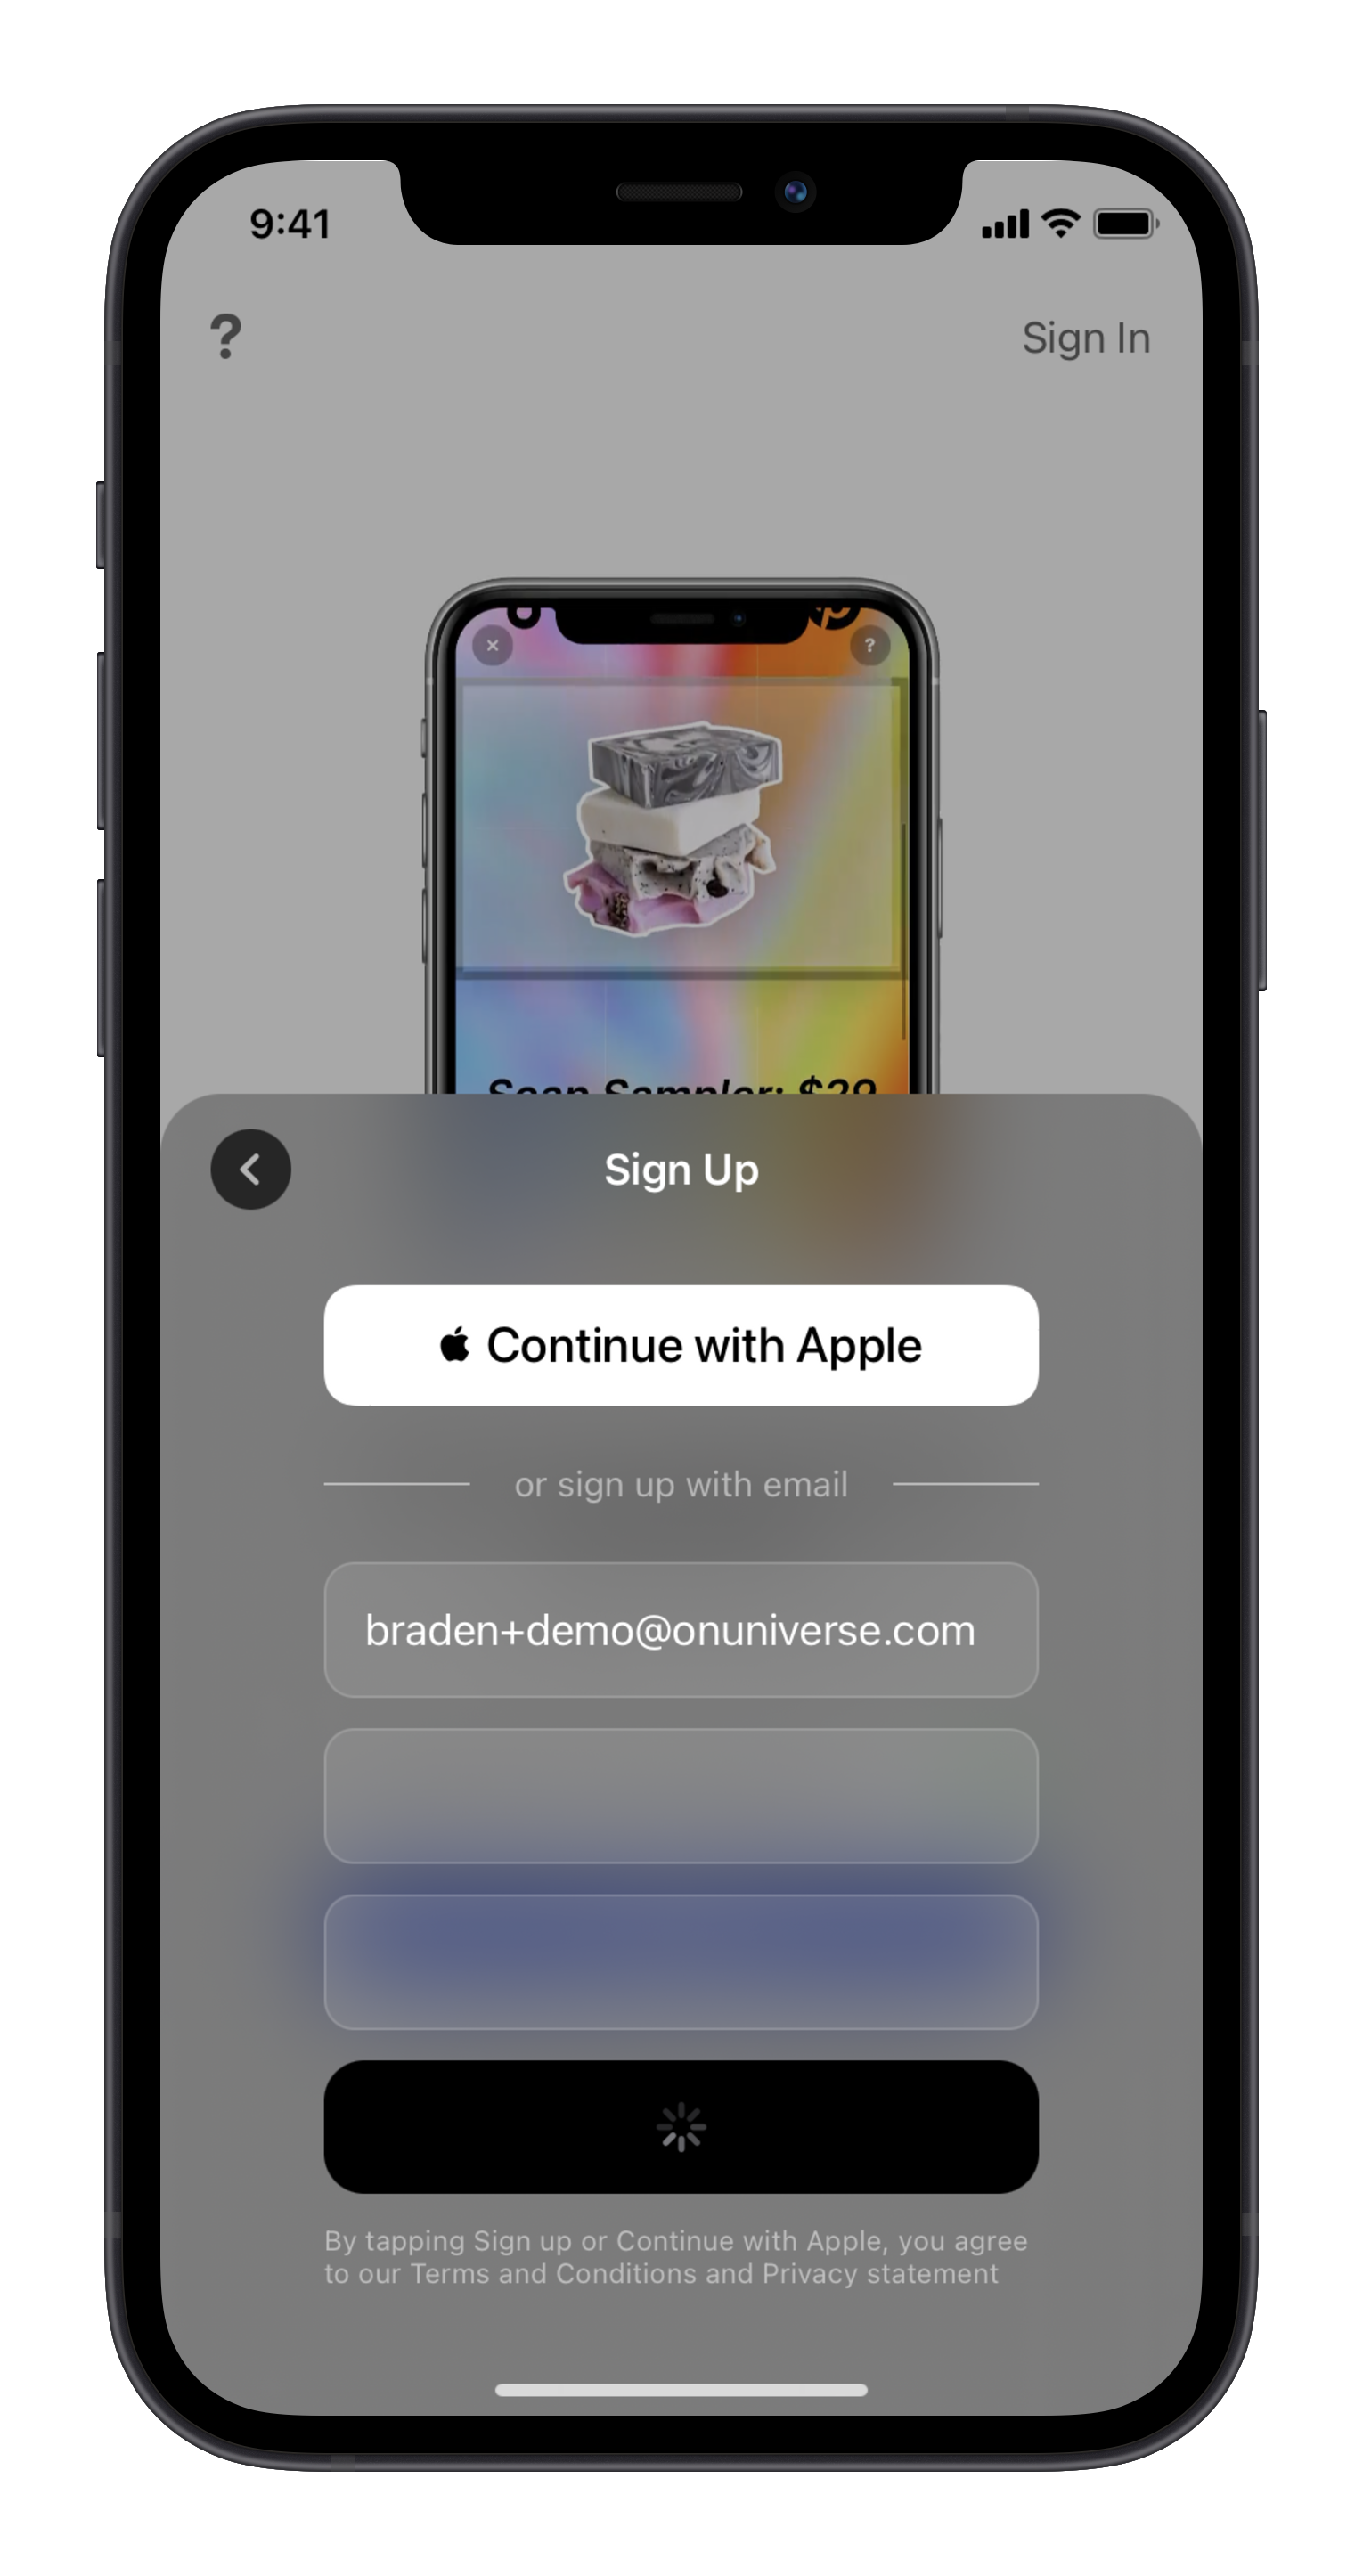
Once you've entered an email and you're confident you have strong password, you can tap the Sign Up button to create an account ![]() Just like that, you're in!
Just like that, you're in!
Choosing a template
After your account is created, it's time to get started editing it! We have tons of templates for you to choose from! You can tap a category and then swipe through all of the templates until you find one that fits your style. Once you found the perfect template, tap the select button on the bottom of the screen.
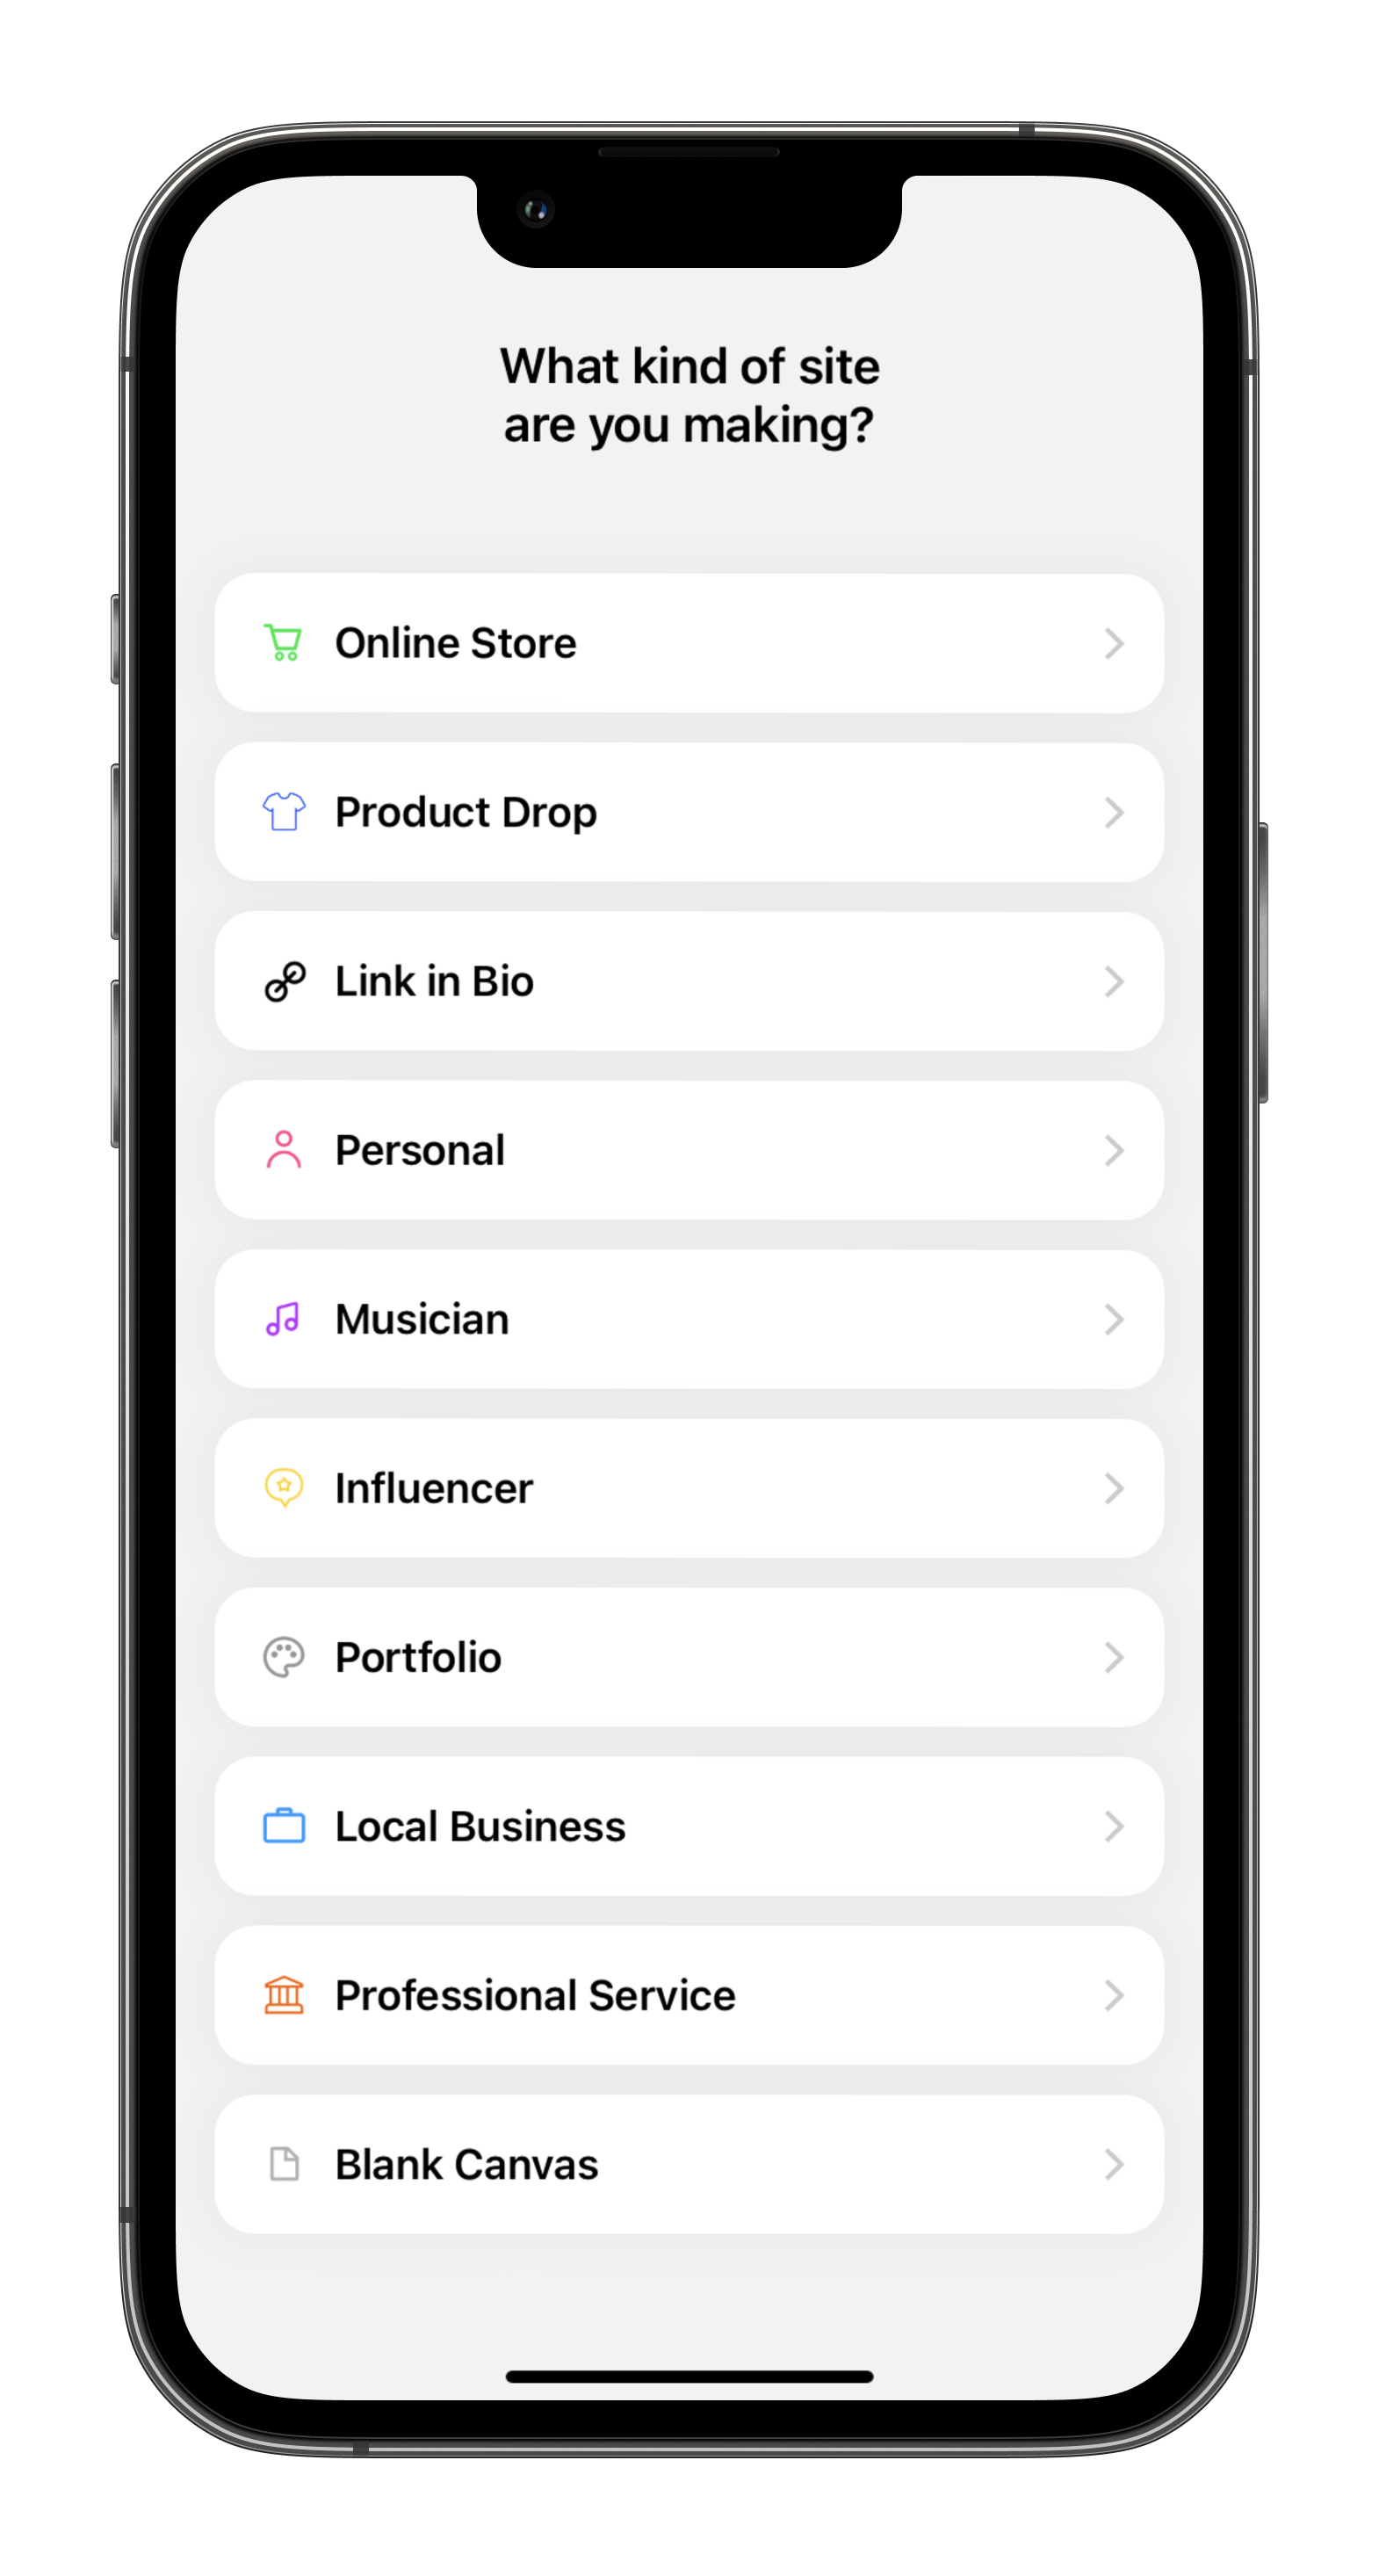
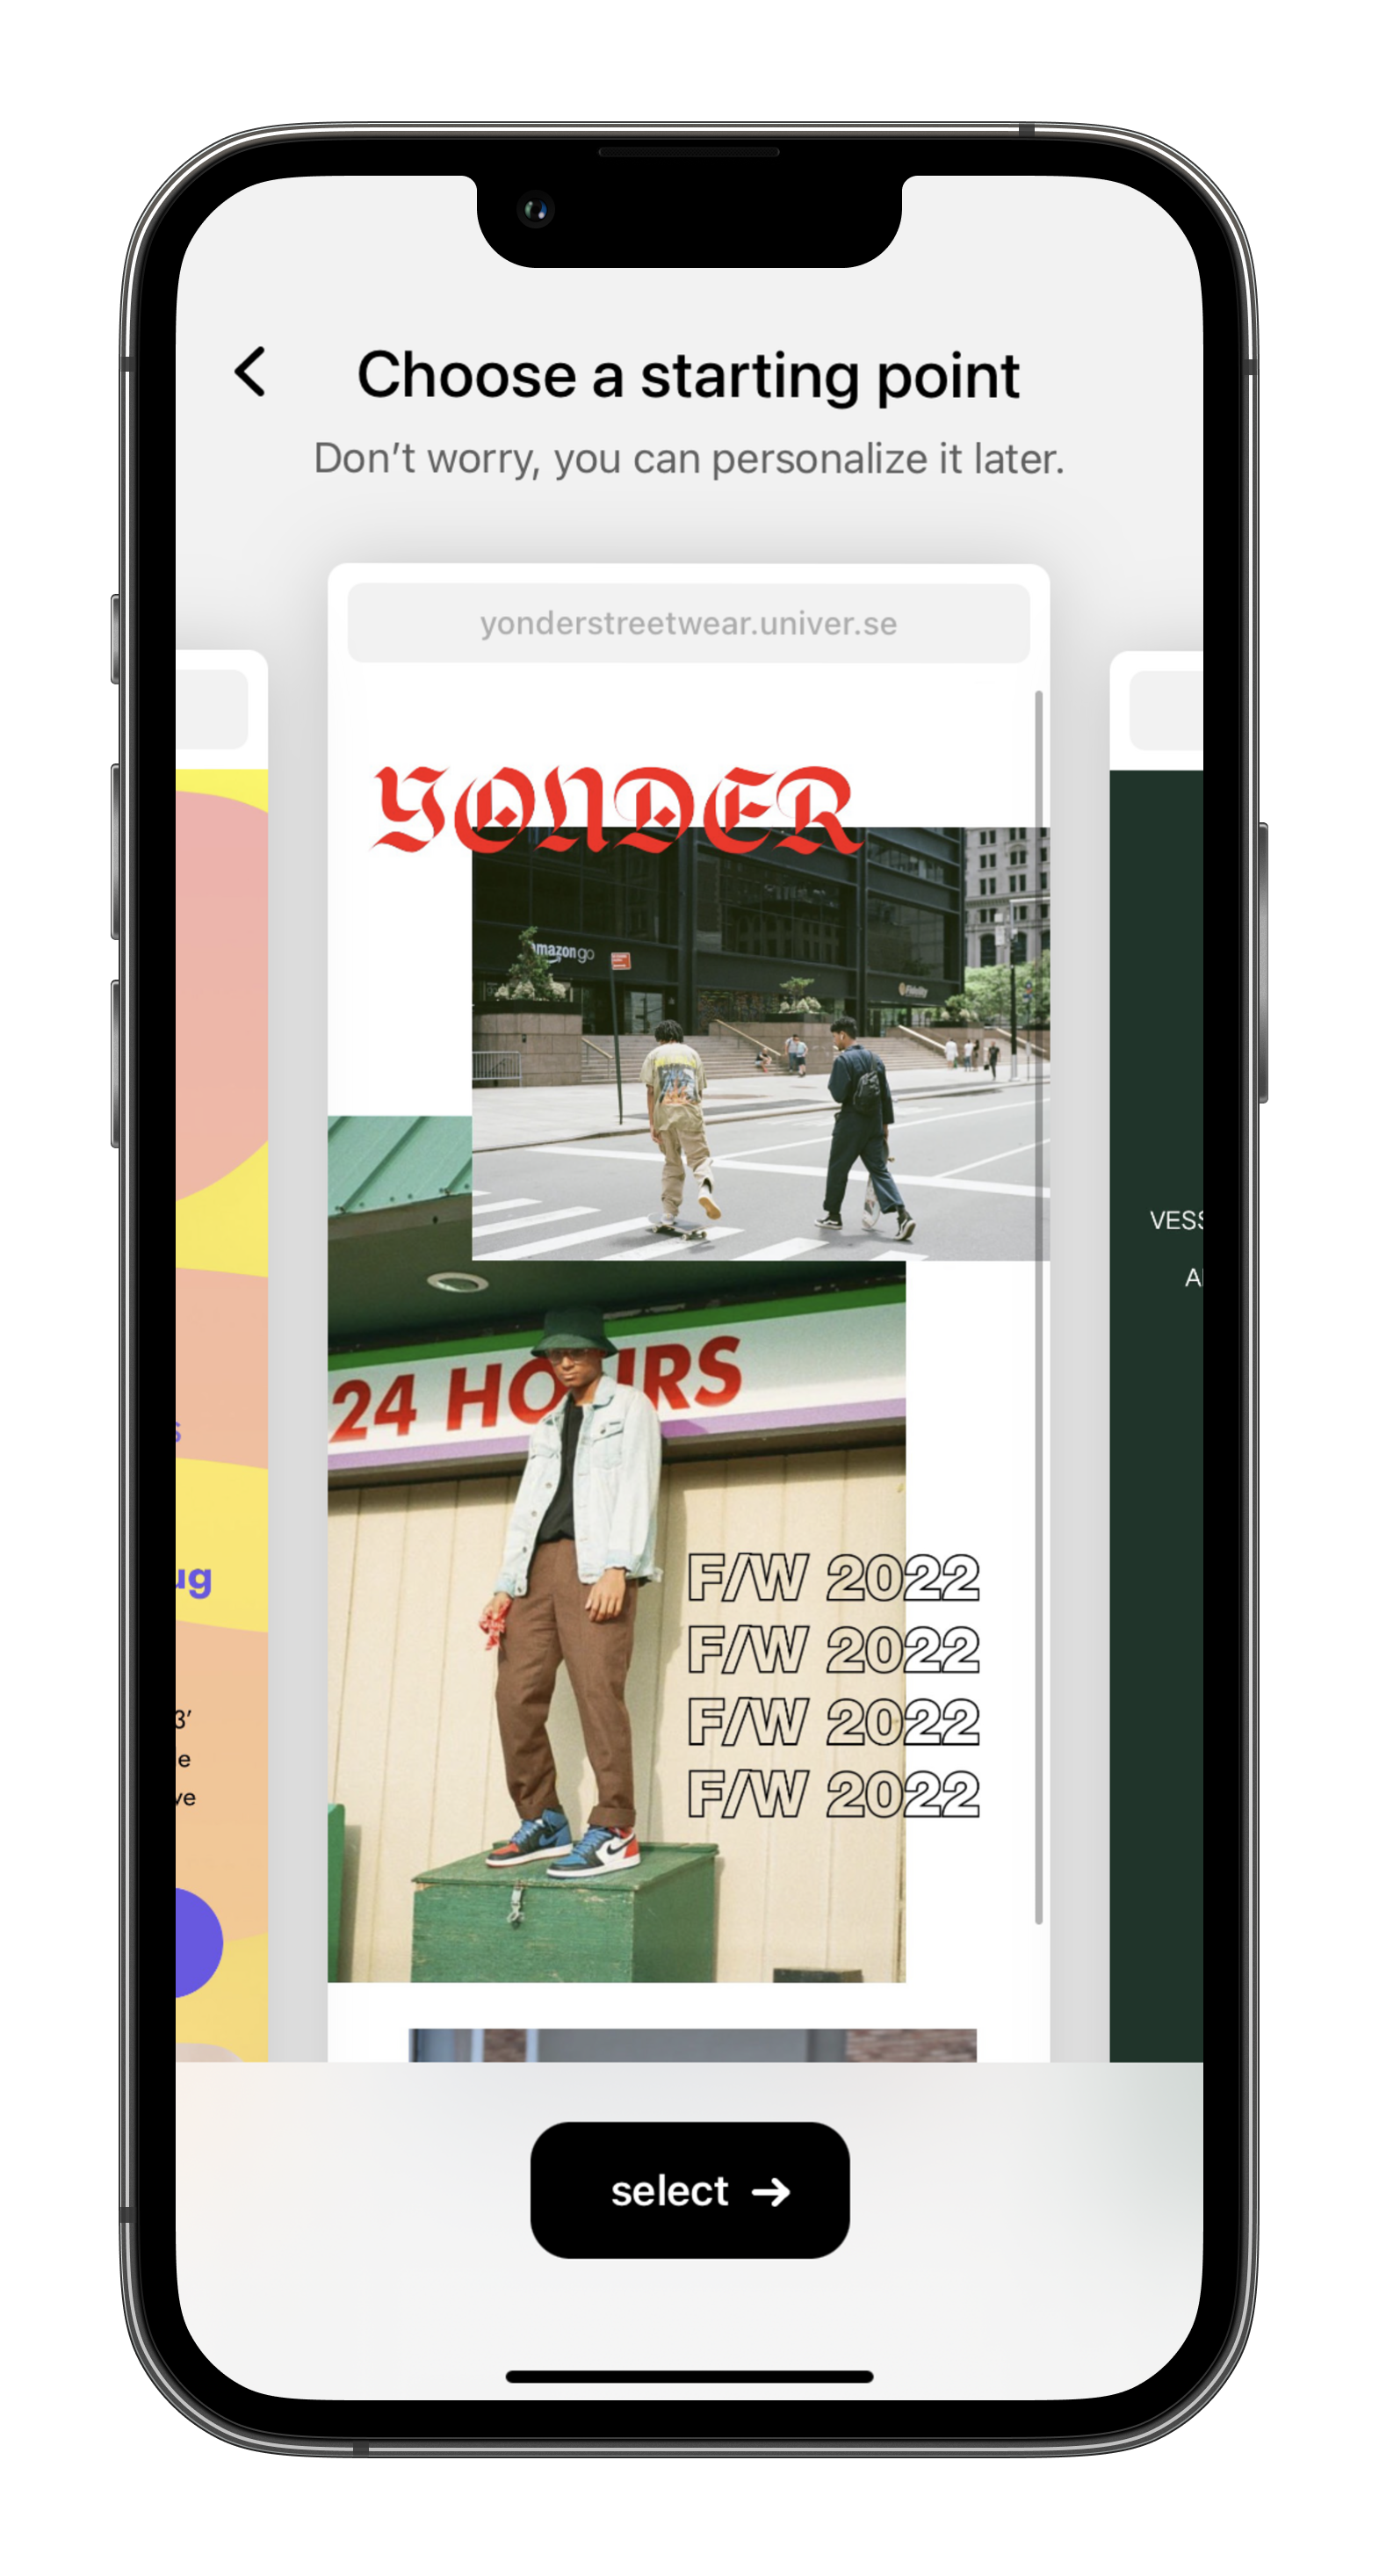
By no means are you locked into a certain template and you can always freely edit your site or change the theme later on.
Editing your site
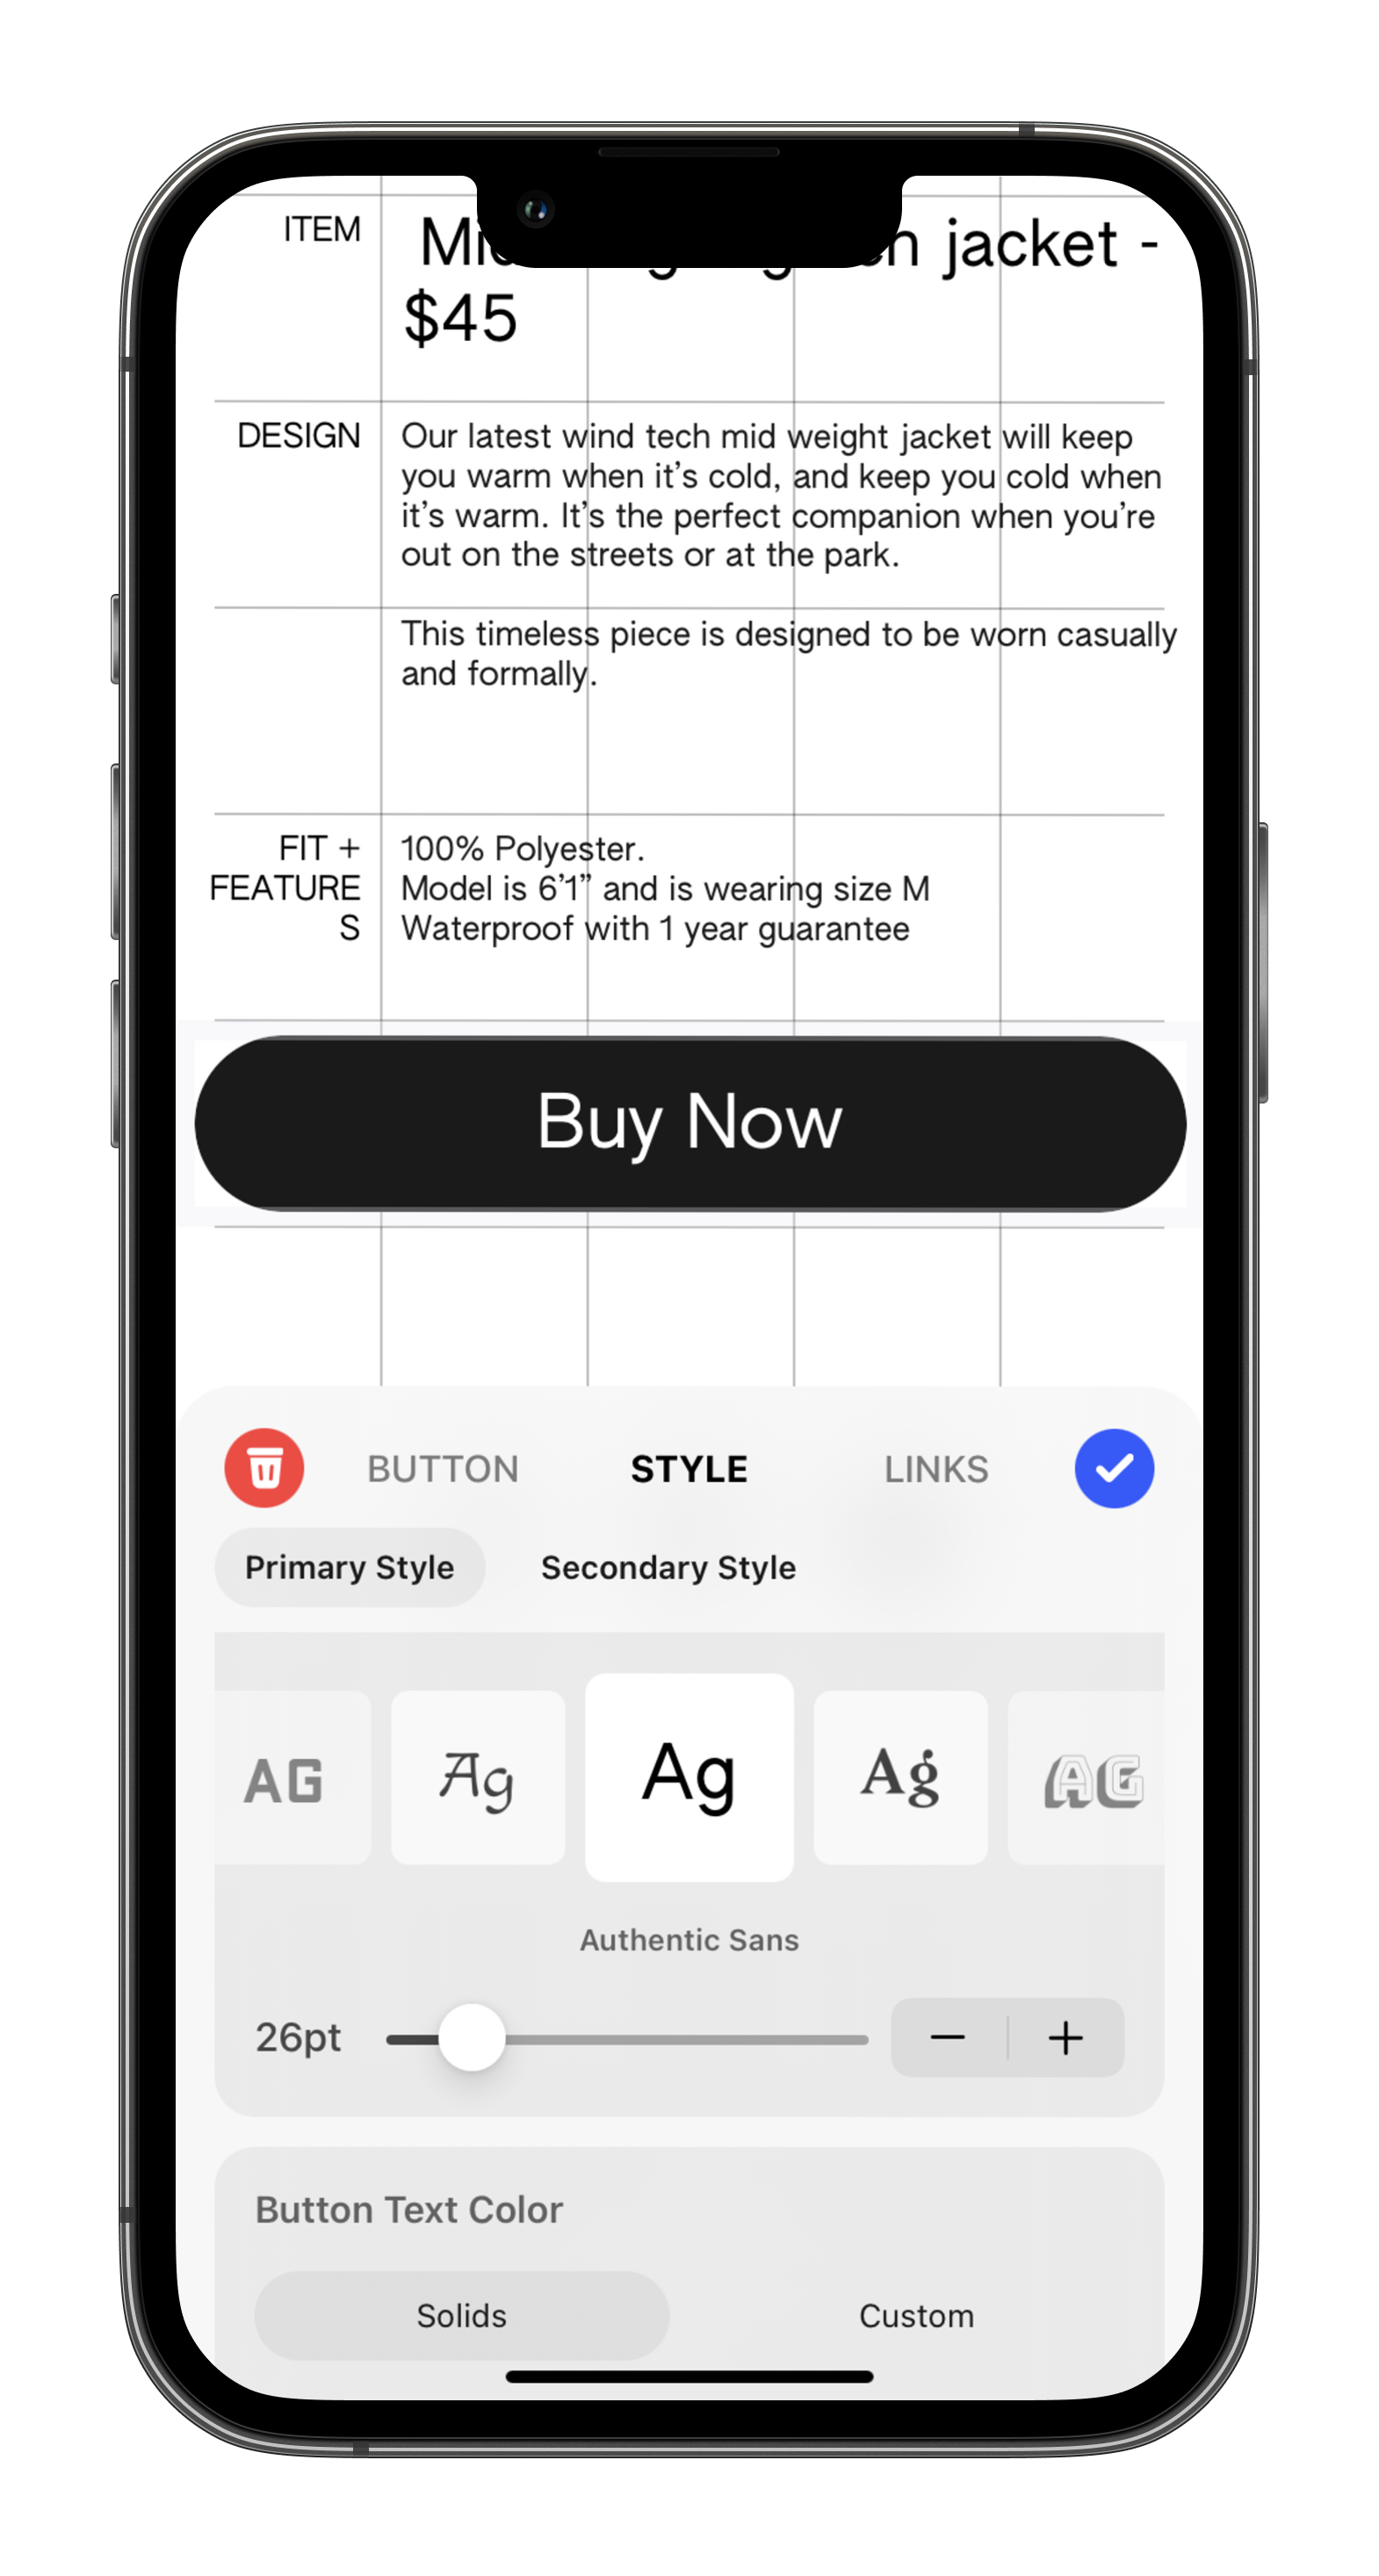
After you choose a template for your site, you're taken directly to the editor -- the Grid Editor. Universe is composed of blocks that you add to your site. Blocks can be added anywhere and rearranged at anytime! We have 20 different block types for you to choose from. To add a block to your site, drag an area on the Grid Editor with your finger or cursor (Mac). The Block selection drawer will open allowing you to add any block to your site!
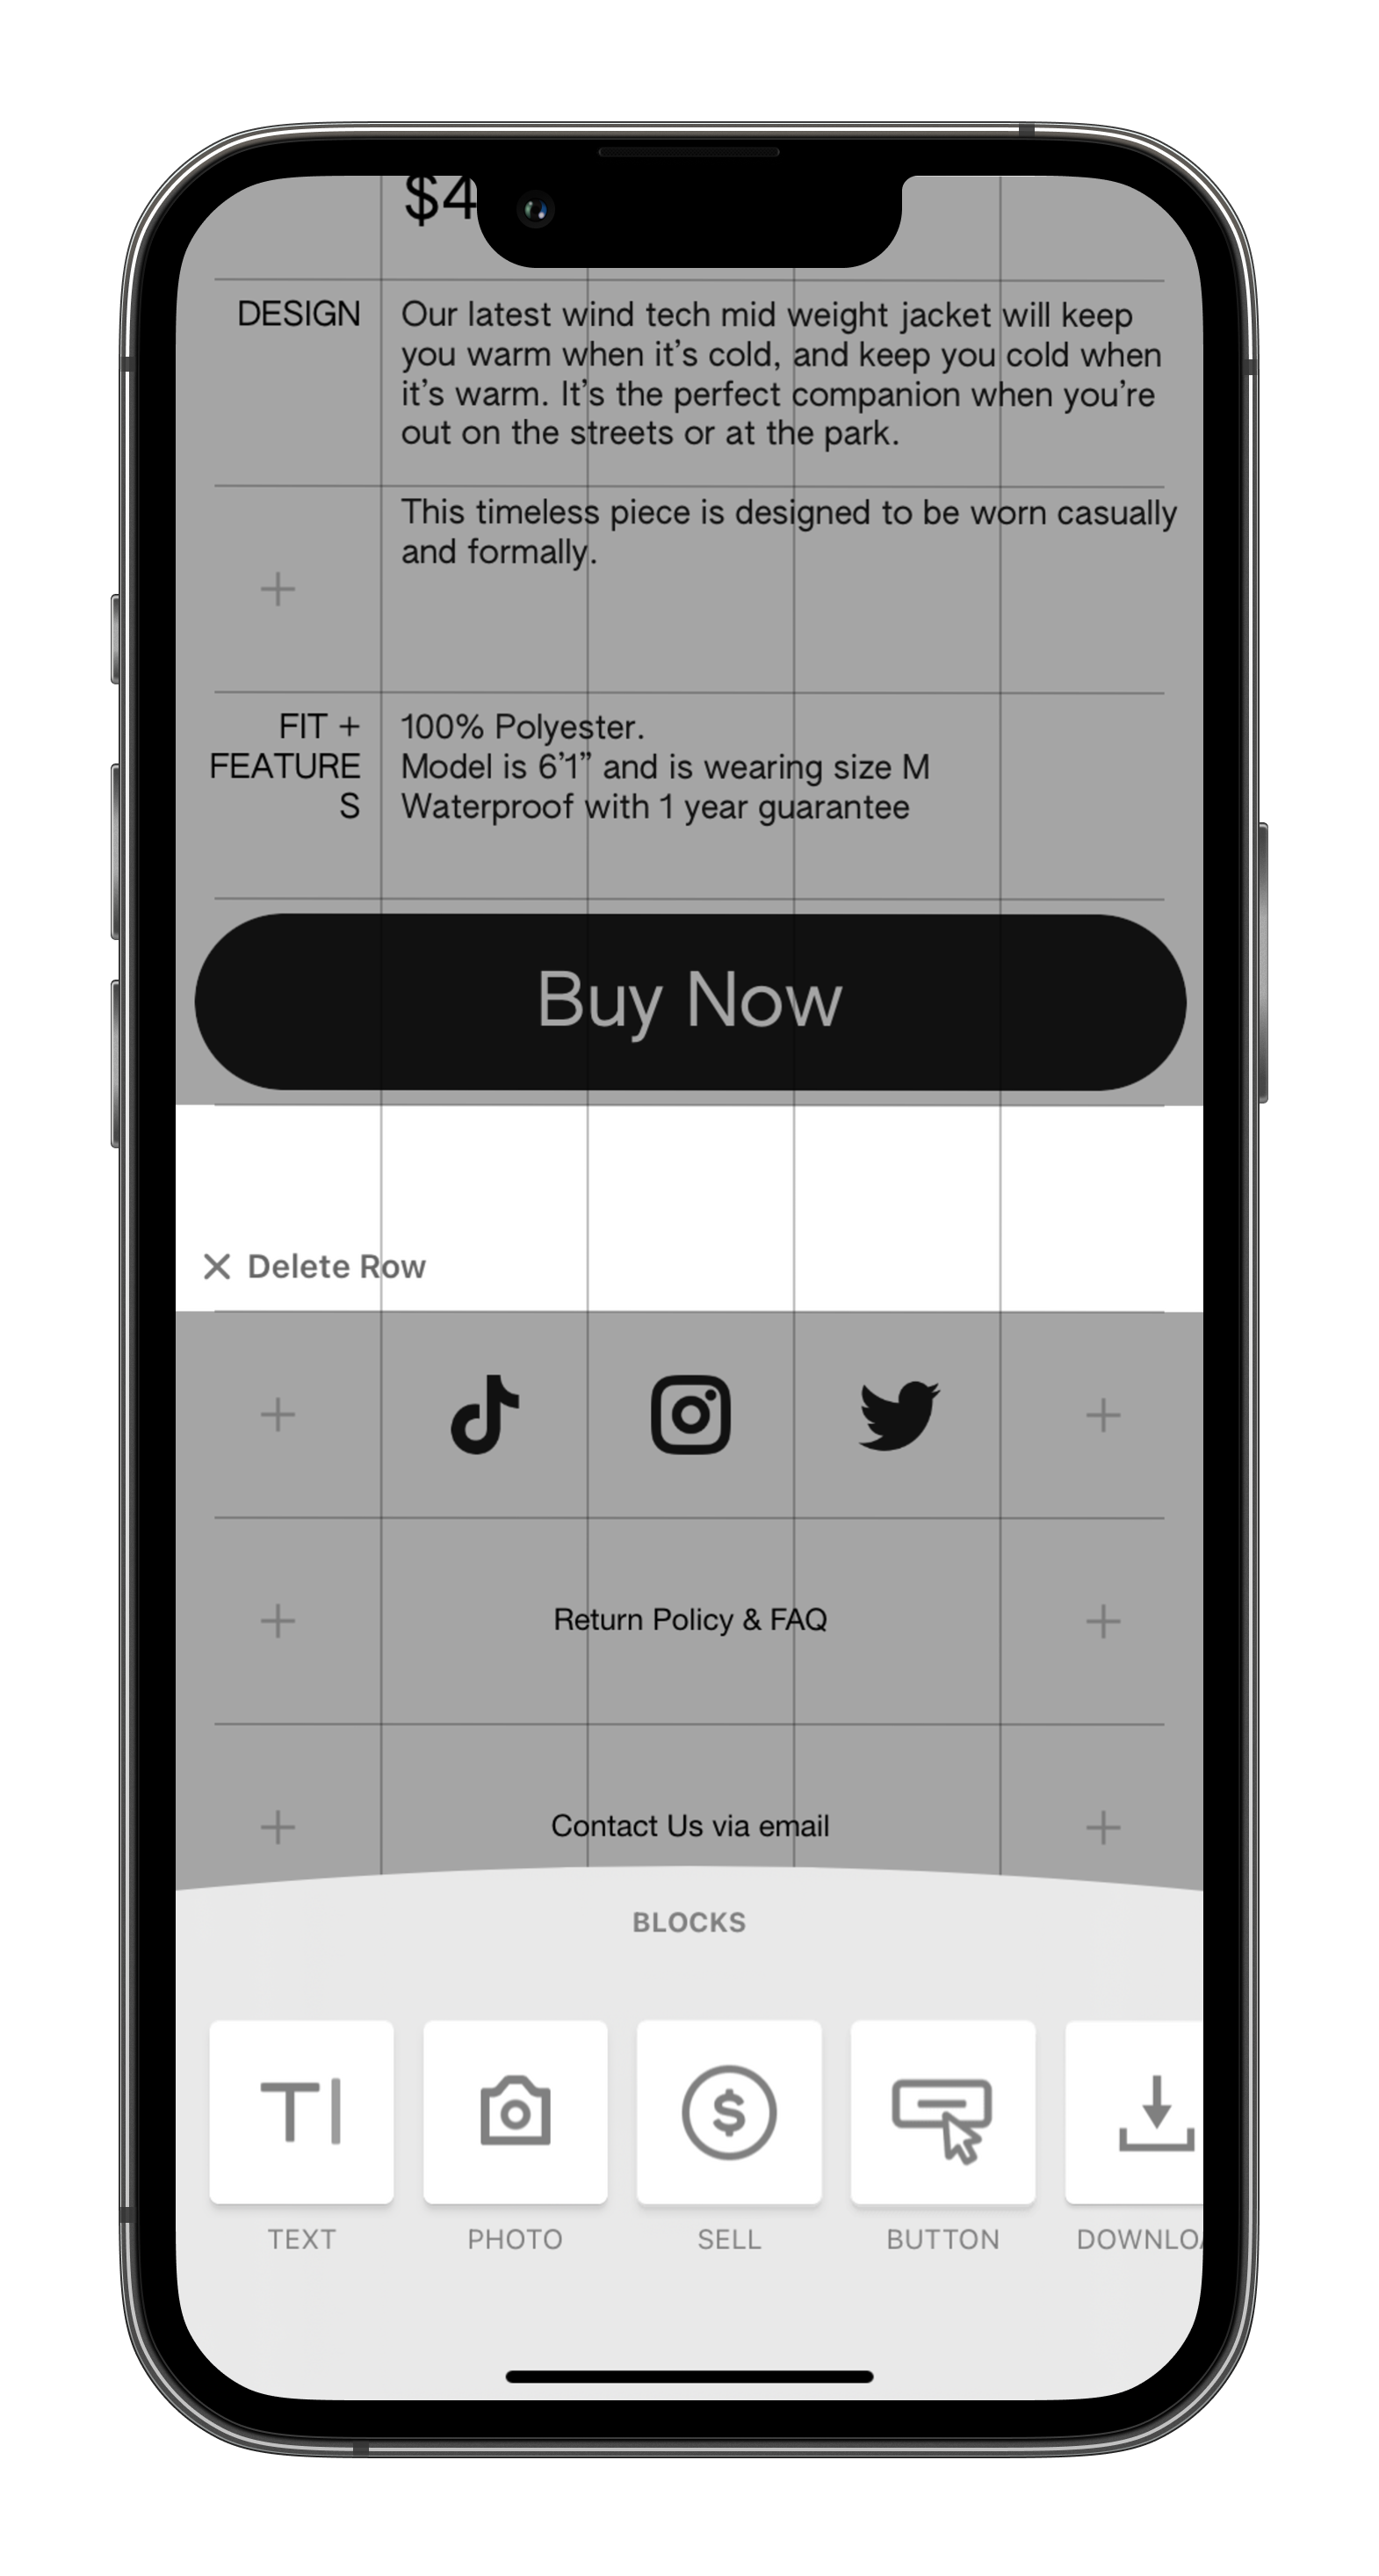
You can tap on an existing block to open the block settings. For example, I tapped a button in the Grid Editor to open it's settings. Every block is different, so be sure to check out what each one has to offer!
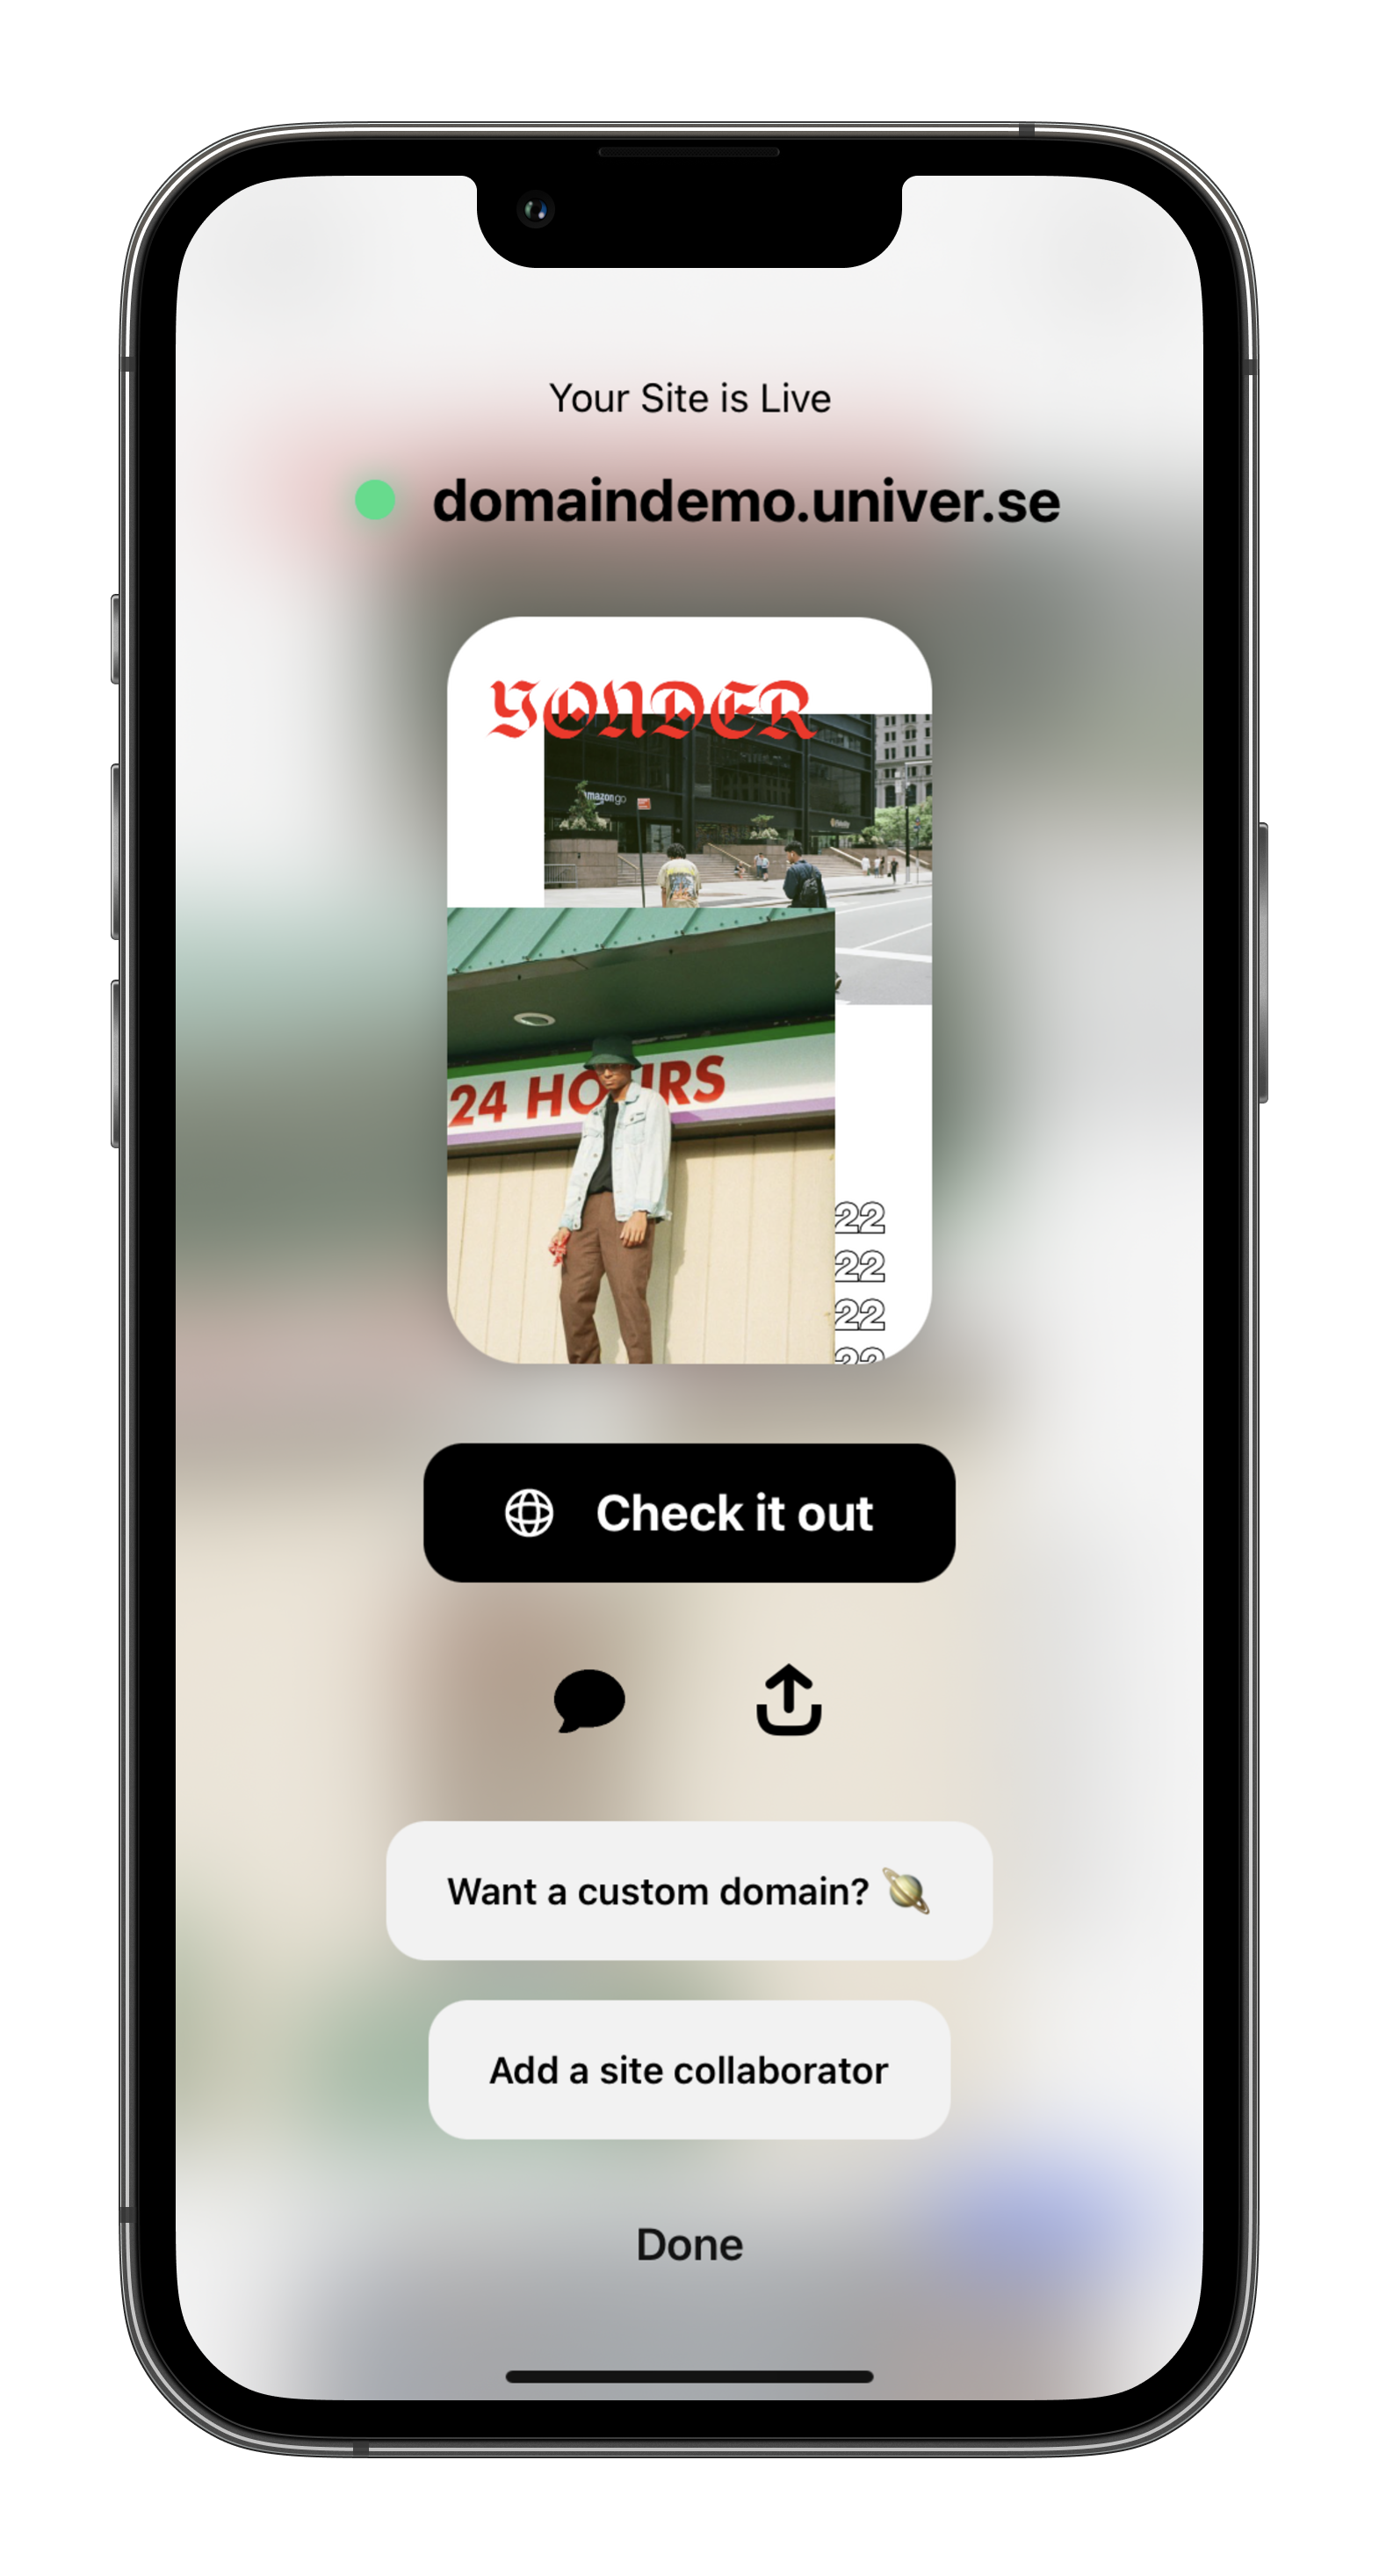
Go live ![]()
Once you're happy with the initial version of your website, it is time to publish it on the internet. You can publish your site by tapping the Publish button in the bottom right-hand corner of the Grid Editor. Within seconds, your site is live!
Do more with your site
Now that your site lives on the internet, you have the ability to fully customize it how you wish. You can add unlimited pages, customize your menu, change your theme, expand the grid, and so much more! Attached below are some guides to help you take your site to the next level.
Editing your site's metadata (name, description, favicon)
This post may also be found in our Help Center at https://help.univer.se/hc/en-us/articles/360059377832